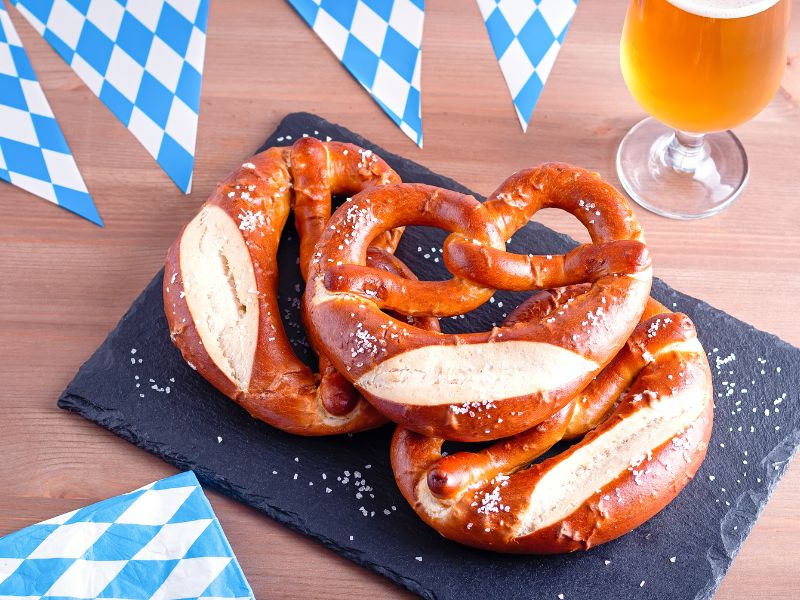
You know, being part German myself, I’ve always been curious about the food traditions from that side of my family history. There are so many tasty dishes, but pretzels have a special place in my heart.
Those golden brown, knotted pieces of bread are iconic, for sure, but they also remind me of get-togethers with extended family and festive occasions.
That was one of the reasons why I recently started a tour around Florida to visit many German spots there and share my experience.
Also, I was writing recently about my favorite German food, including this one.
I thought I’d share with you all how to make homemade soft pretzels – it’s rewarding to put them together yourself, and even better to indulge in the final product! Let me walk you through the process so you can bring a little German flavor to your kitchen.
Here’s what you’ll need to get started
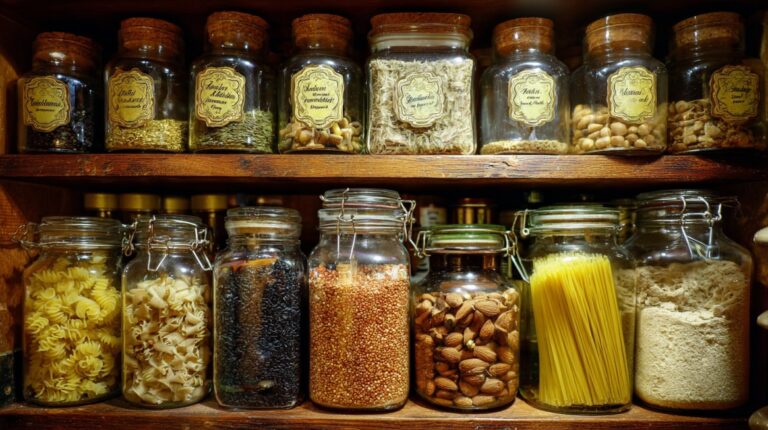
- All-purpose flour: You’ll need about 4 cups of all-purpose flour. This will form the base of your dough and provide the structure for your pretzels.
- Salt: 1 1/2 teaspoons of salt is mixed into the dough to enhance flavor.
- Sugar: Just 1/2 teaspoon of sugar helps to feed the yeast, promoting better rising.
- Instant dry yeast: 2 1/2 teaspoons of instant dry yeast is used to make the dough rise. You can also use active dry yeast, but it will require a bit more time to activate.
- Butter: 2 tablespoons of melted butter are added to the dough for richness and flavor.
- Warm water: 1 cup of warm water helps to activate the yeast. Ensure the water is not too hot, as it can kill the yeast.
- Warm milk: 1/2 cup of warm milk adds a slight sweetness and helps create a softer dough.
Necessary Tools and Equipment
- Large mixing bowl: A big bowl is needed to mix and knead your dough.
- Spiral dough hooks or your hands: If you have an electric mixer with dough hooks, it can make the kneading process easier. Otherwise, your hands will do just fine.
- Dishtowel or lid: To cover the dough while it rises, a clean dishtowel or lid will help keep it warm and draft-free.
- Baking sheets: You’ll need baking sheets to place your pretzels on for baking. Lining them with parchment paper can prevent sticking.
- Large pot: A pot is essential for boiling the pretzels in the baking soda solution, which is a crucial step for achieving their distinctive crust.
- Slotted spoon: This tool is used to remove the pretzels from the boiling solution, allowing excess water to drain off.
Prepare The Dough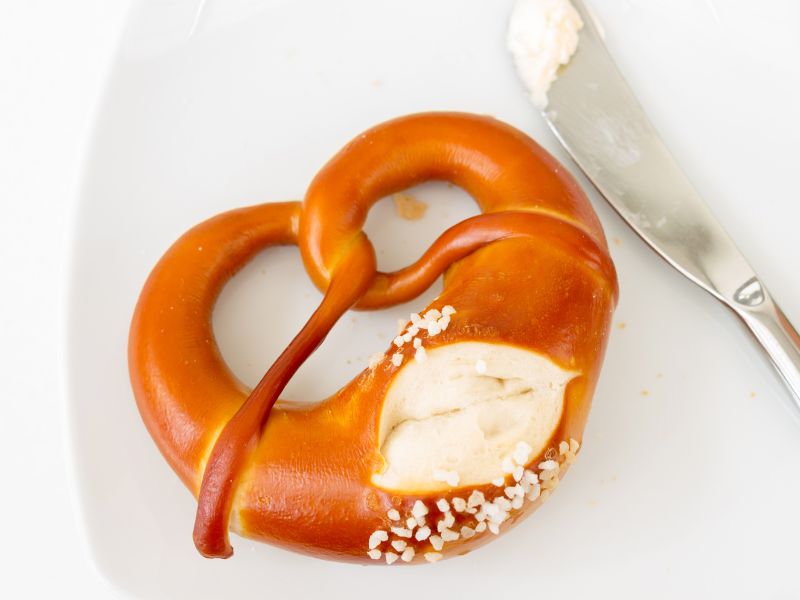
We’ll start with mixing the dry ingredients – into a large bowl goes 4 cups of flour along with 1 1/2 teaspoons salt and 1/2 teaspoon sugar. Give it all a good whisk to combine well.
Next, we’ll activate our yeast. If using instant yeast, sprinkle in 2 1/2 teaspoons. For active dry yeast, bloom it first in 1/4 cup warm water and set aside for mixing. Once frothy, it’s ready to add.
Now for the wet stuff. Melt 2 tablespoons butter and let it cool a bit before whisking in. Then slowly pour in 1 cup warm water and 1/2 cup milk, warming them just enough to take the edge off. Switch to a wooden spoon or dough hook on your mixer to blend it all.
Once it starts coming together, it’s time to knead. Whether by machine or by hand, knead for about 10 minutes until smooth and elastic. The mixer does this part for you on medium speed for 5-7 minutes until it forms a cohesive ball.
Shape the dough into a nice round and place back in the bowl. Cover and let rise in a warm spot for an hour or until doubled in size.
Once risen, the dough is ready for twisting and shaping into the iconic form.
The Next Step Is Shaping
Alright, with that dough risen, it’s time for the fun part – shaping them into pretzels! First, lightly flour your work surface to prevent sticking. Turn out the dough and knead briefly to release any large air bubbles.
Next, divide the dough into 8 equal pieces. I like to weigh each portion to ensure they’re the same size. Then, roll each piece into a long rope around 26 inches long, with the center slightly thicker than the ends. Let them rest for a few minutes if the dough resists shaping.
Now for forming that classic pretzel knot. Take one rope and shape it into a “U” with the ends pointing up. Cross those ends over each other twice to create the twist in the middle. Fold the twisted ends down towards the bottom of the “U” and firmly press them in place.
Check each pretzel and adjust the shape if needed, gently pressing until it holds. Place the formed pretzels on a parchment-lined baking sheet and cover with a towel. Let them rest for 10 minutes to relax before boiling.
Now It’s Ready For Baking
To begin, fill a large pot with about 4 cups of water and bring it to a boil over high heat. While that’s coming to a boil, prepare your baking soda solution – carefully add 3 tablespoons of baking soda to the boiling water and stand back, as it may bubble up vigorously.
Once you have your boiling baking soda water ready, it’s time to boil the pretzels. Working with one at a time, use a slotted spoon to gently lower each shaped pretzel into the pot. Let it boil for 10-15 seconds, then remove and allow any excess water to drain off. Place the boiled pretzel on a parchment-lined baking sheet. Repeat with remaining pretzels.
While the pretzels are still wet from boiling, lightly sprinkle them with coarse salt or any other toppings you like such as sesame or poppy seeds. The wet dough will help the toppings adhere nicely.
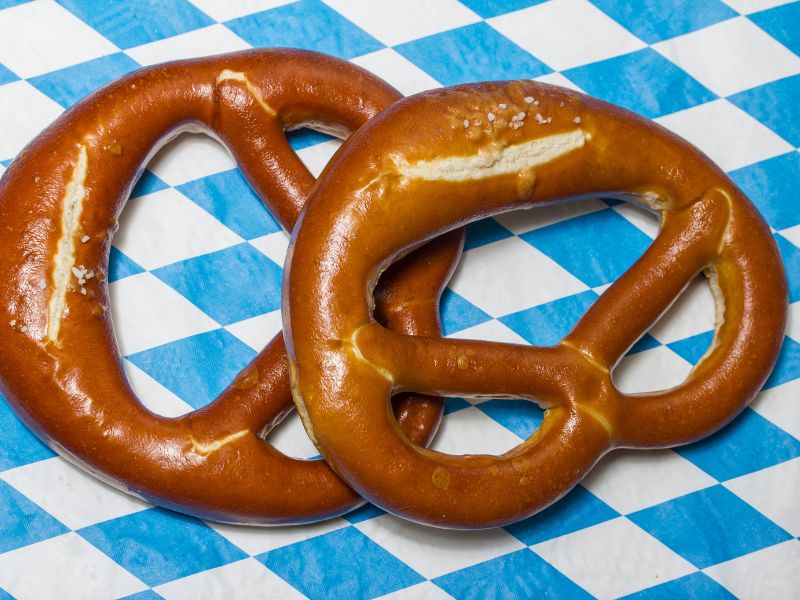
Once all pretzels are topped, it’s time to bake. First, preheat your oven to 390°F. The high heat is key for getting the perfect crust. Place the baking sheet of pretzels in the oven. For even baking, rotate the sheet halfway through. Bake for 15-20 minutes, keeping a close eye to avoid over-browning, as bake times can vary slightly by oven.
When finished baking, remove the pretzels from the oven and allow them to cool on a wire rack for just a few minutes. This lets the crust set properly.
Conclusion
I hope you’ve enjoyed this glimpse into the process of creating these iconic German treats from scratch.
Taking the time to make pretzels at home is such a rewarding experience. You really taste the difference between store-bought when you’ve put that care and effort in yourself. I also find it’s a fun actvity for a family as you can involve your kids(for example, to let them shape the pretzels).